How to Craft Hemp Jewelry
Interested in tying the correct knots? Congratulations! You have made it to the right spot! Below there are different sets of step-by-step instructions complete with images. You are welcome to navigate through each one to have a look.
How to tie the beginning knot.
1 / 5
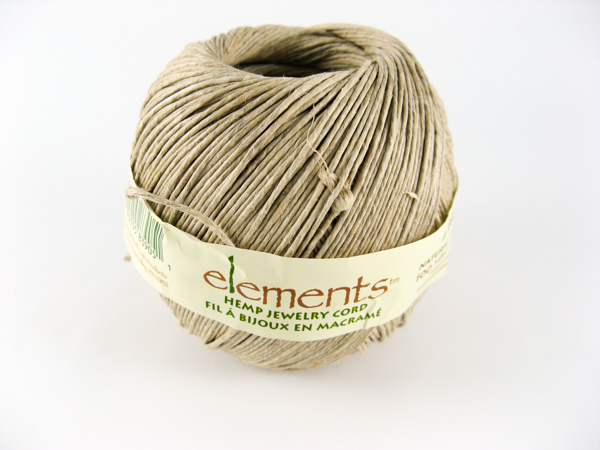
Hemp Overhand Knot Directions: To make a hemp overhand knot cut two pieces of 1mm natural hemp jewelry cord.
2 / 5
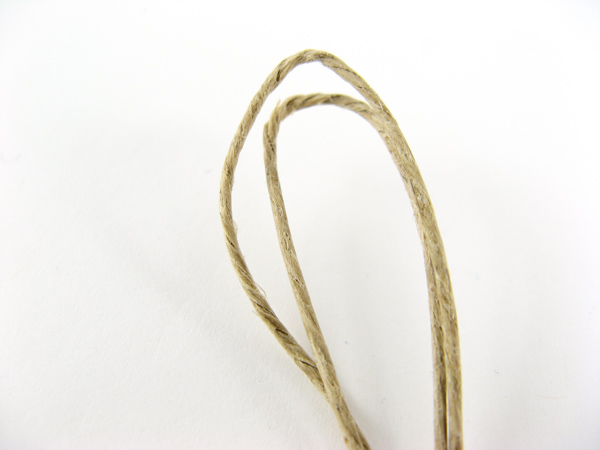
Step 1: Find the center of your cords and fold them in half.
3 / 5
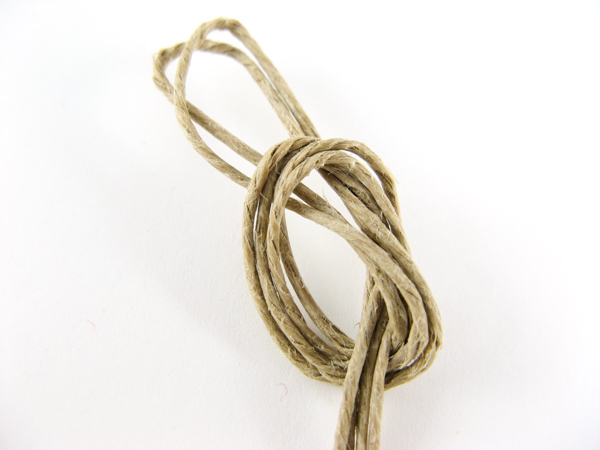
Step 2: Tie an overhand knot as shown.
4 / 5
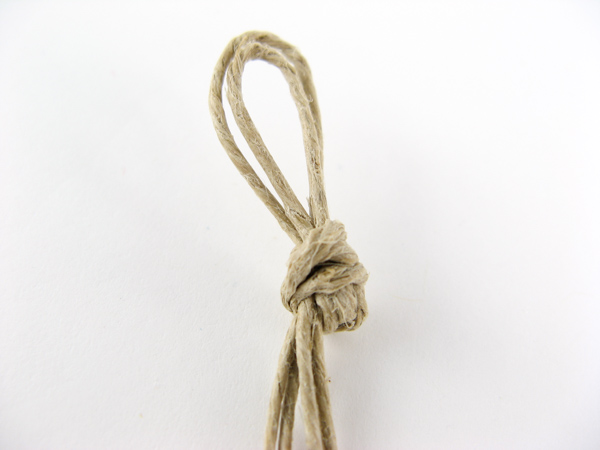
Step 3: Leave a half-inch loop just large enough for your pony bead or finishing knot to go through.
5 / 5
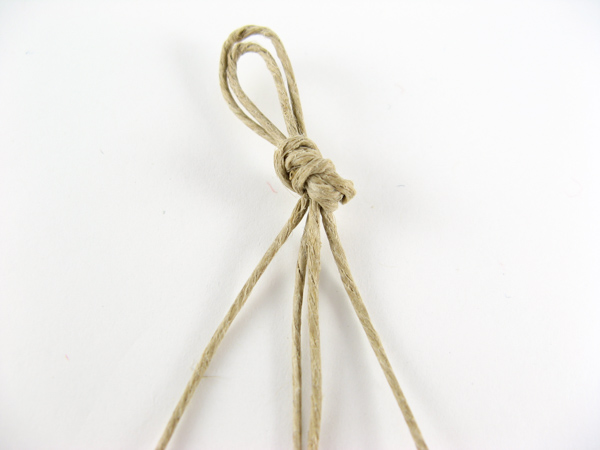
Now you have the basic starting point. The two inside cords are the base strands. The two outside cords are the knotting cords.
How to tie a straight design.
1 / 6
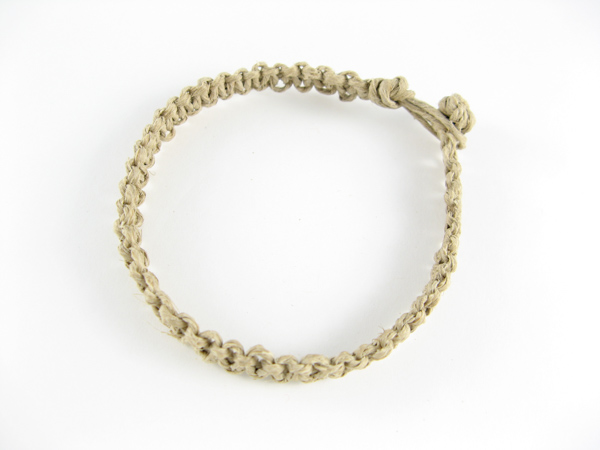
Basic straight knot Instructions (square-knot):
2 / 6
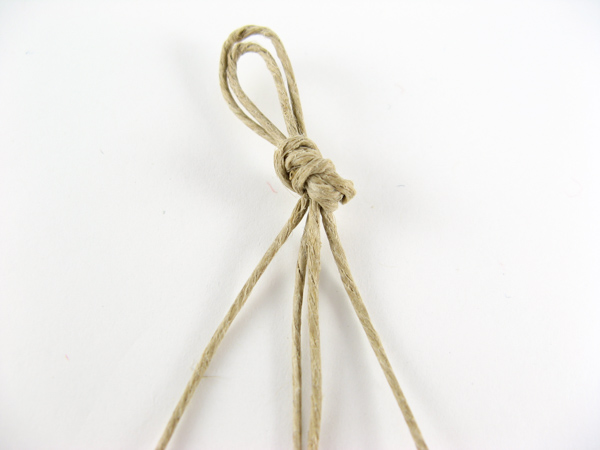
Begin with overhand knot. Leave half-inch loop.
3 / 6
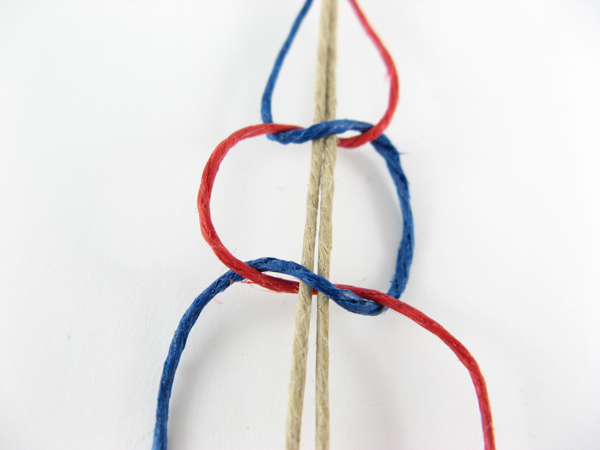
Place blue over middle and under red. Weave red under middle, and up through blue loop. For straight design, always with alternating color.
4 / 6
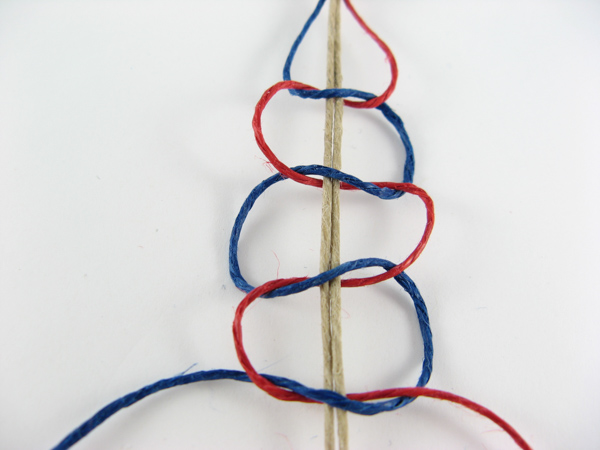
Here is a series or sennit of loose square knots to show you how the pattern will look.
5 / 6
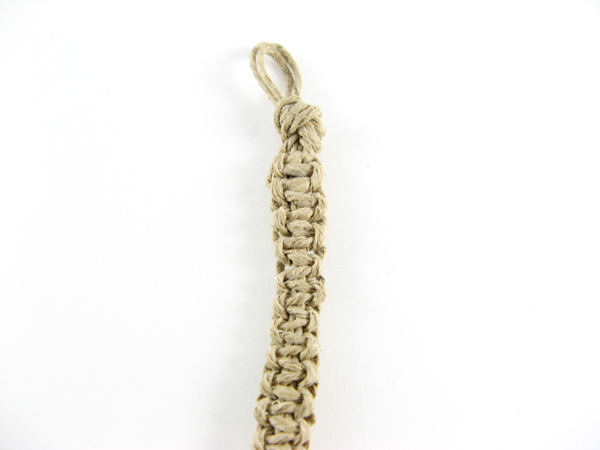
This is a series of hemp square knots. The tighter you make it the longer strings you will need.
6 / 6
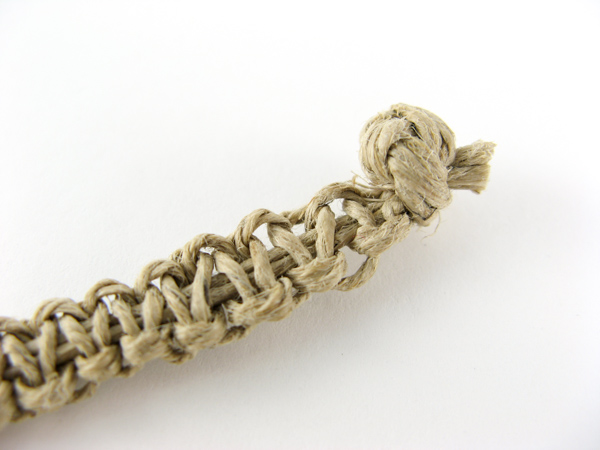
To finish, tie your ending knot. Trim the excess hemp cords.
How to incorporate beads and tie end knot
1 /5
Beads are wonderful additions to your design.
2 / 5
There are many different colors and sizes to choose from.
3 / 5
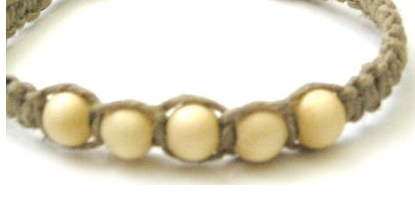
On a bead placed in the middle, the hole needs to be big enough for 2 cords to fit.
4 / 5
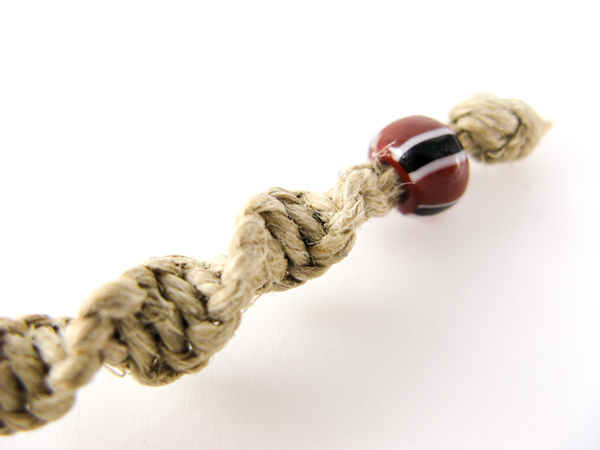
On an end bead, the hole needs to be big enough for all 4 cords. Simply tie another overhand knot at the end.
5 / 5

Alternatively, tie an overhand not at the end instead of a bead. Make it bigger by tying again over same knot. Needs to fit through beginning loop.
What materials to use and how to measure cord.
1 / 5

You will need hemp cord, scissors, beads(optional), and something to anchor to, like tape on a hard surface, a key ring, or paper clip. A clipboard also works nicely.
2 / 5
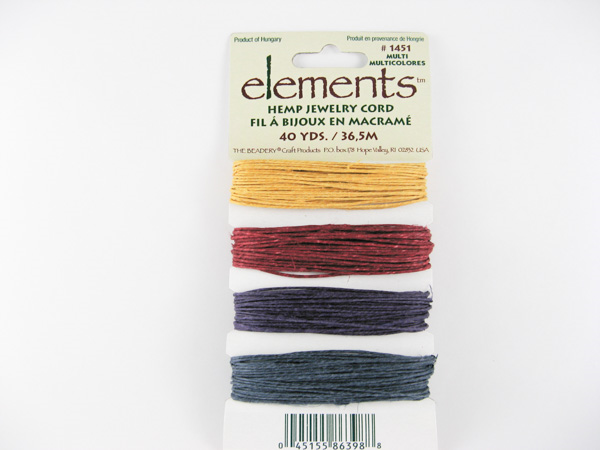
There are lots of different colors of hemp to choose from.
3 / 5
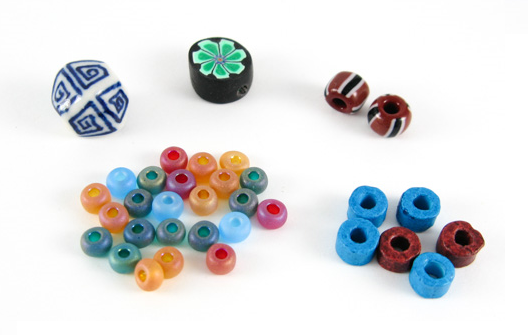
There are lots of different beads to choose from. For the middle, only two cords need to fit through the hole of the bead. At the end, all four need to fit. The starting loop needs to fit over the bead.
4 / 5
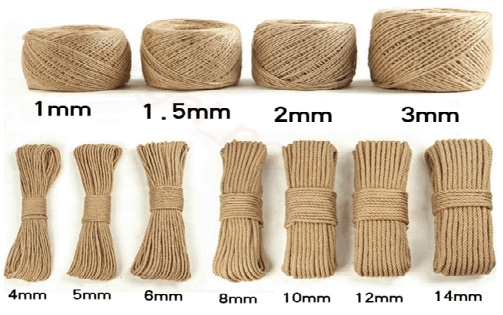
There are many different sizes. These tutorials primarily use 1mm. The thicker you go, the longer cord you will need. Deside what length of jewelry you want. This will be (L). For 1mm, cut one that is 2x(L) + 1 foot, and one that is 4x(L) + 2 feet.
5 / 5
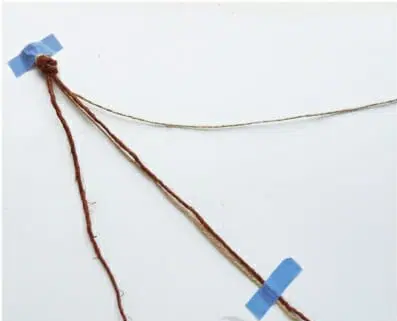
Fold both cords in half, put two together, tie beginning knot. Anchor the loop and begin.
How to tie a twisty design.
1 / 5
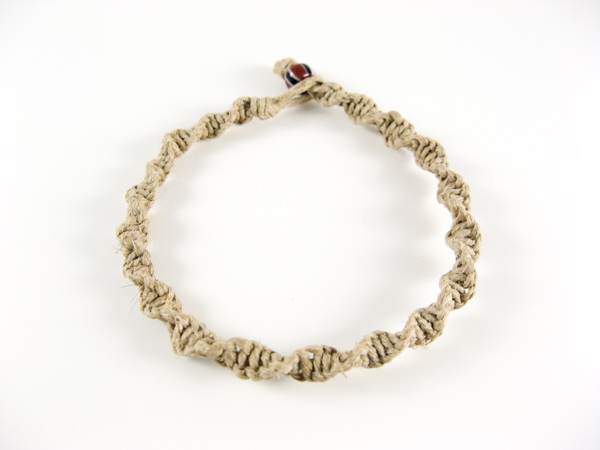
Twisty Hemp Bracelet Directions (half-knot):
2 / 5
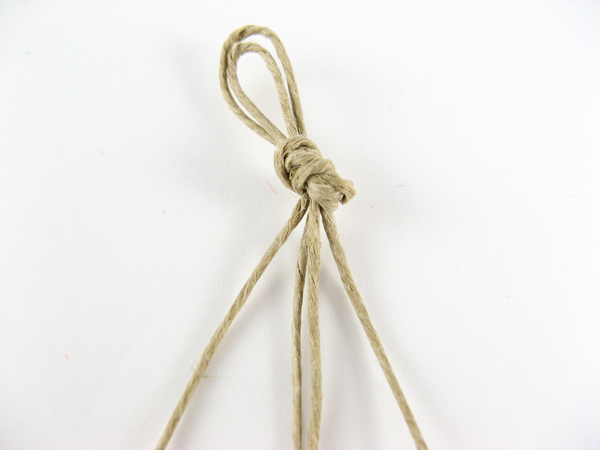
Begin with overhand knot. Leave a half-inch loop.
3 / 5
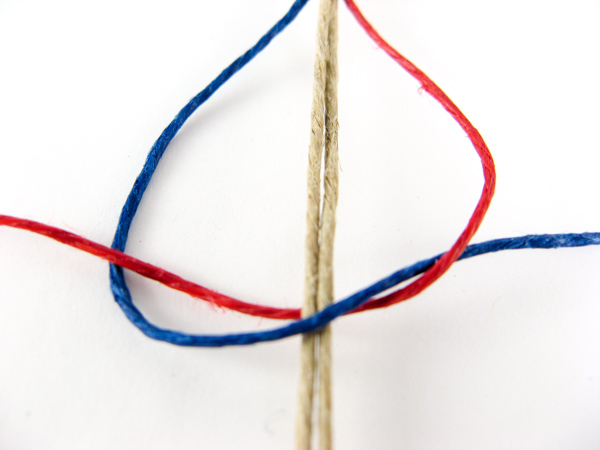
Place blue over middle and under red. Weave red under middle and up through blue loop. For twisty design, always start with the same color.
4 / 5
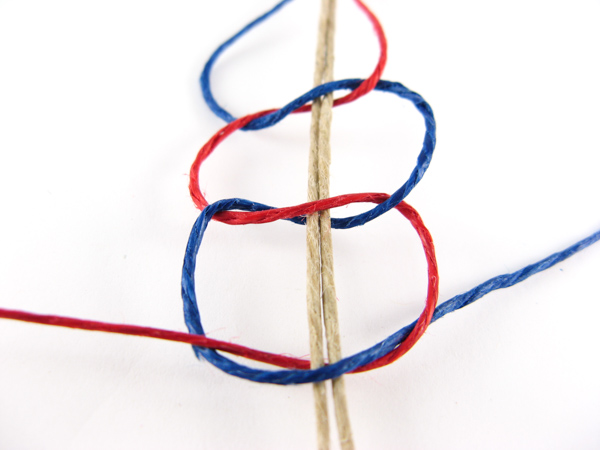
Here is a series of loose half-knots to show you how the pattern will look
5 / 5

To finish, string all four cords through the end bead and tie overhand knot. Needle-nose pliers can help. Trim the excess hemp cords.
